Escoffier recipe for making côtes de porc à la flamande, baked porkchops with apples, at home (Escoffier, 2921).
Have you ever made pork chops with apple sauce for dinner before? Well then, if you have, you’ve already cooked côtes de porc à la flamande. This Escoffier recipe is a very simple, but delicious dish of pork chops with baked apples. It’s a quick dinner to make, too!

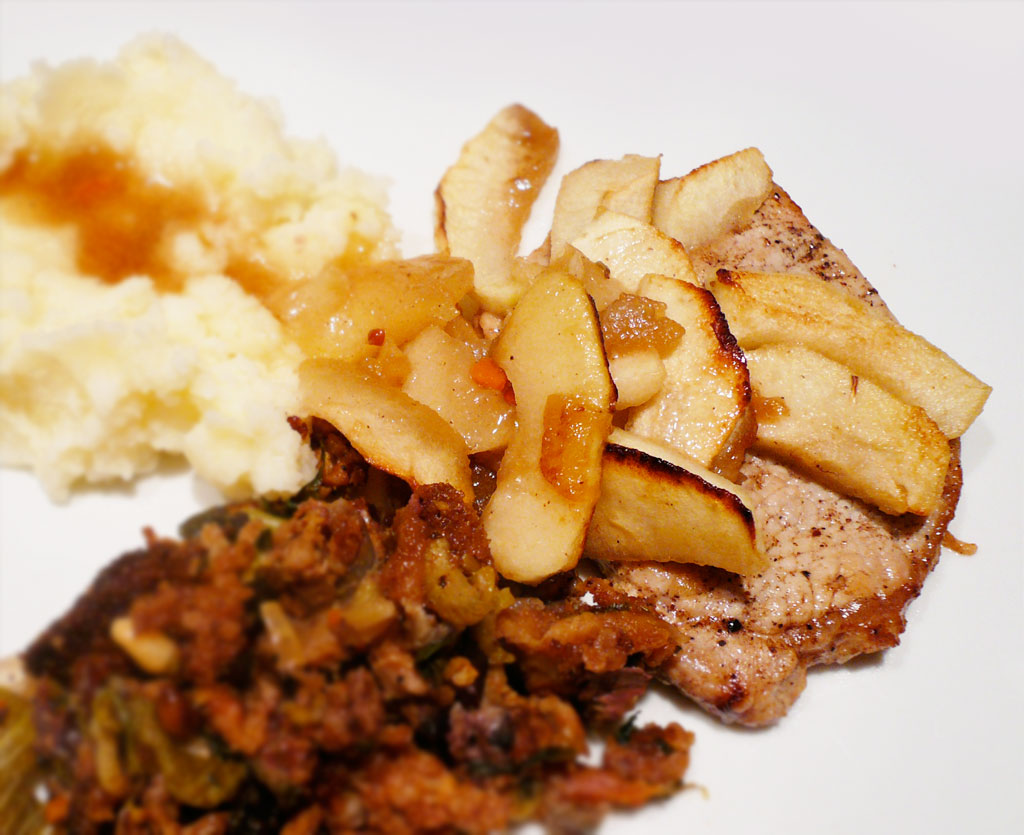
Côtes de Porc à la Flamande, Baked Porkchops with Apples
Preheat oven to 375ºF. Quarter, core, and peel the apples (allow one apple per chop). Cut them up in thick slices and coat with the lemon juice to prevent their browning. Season the pork chops with salt and pepper.

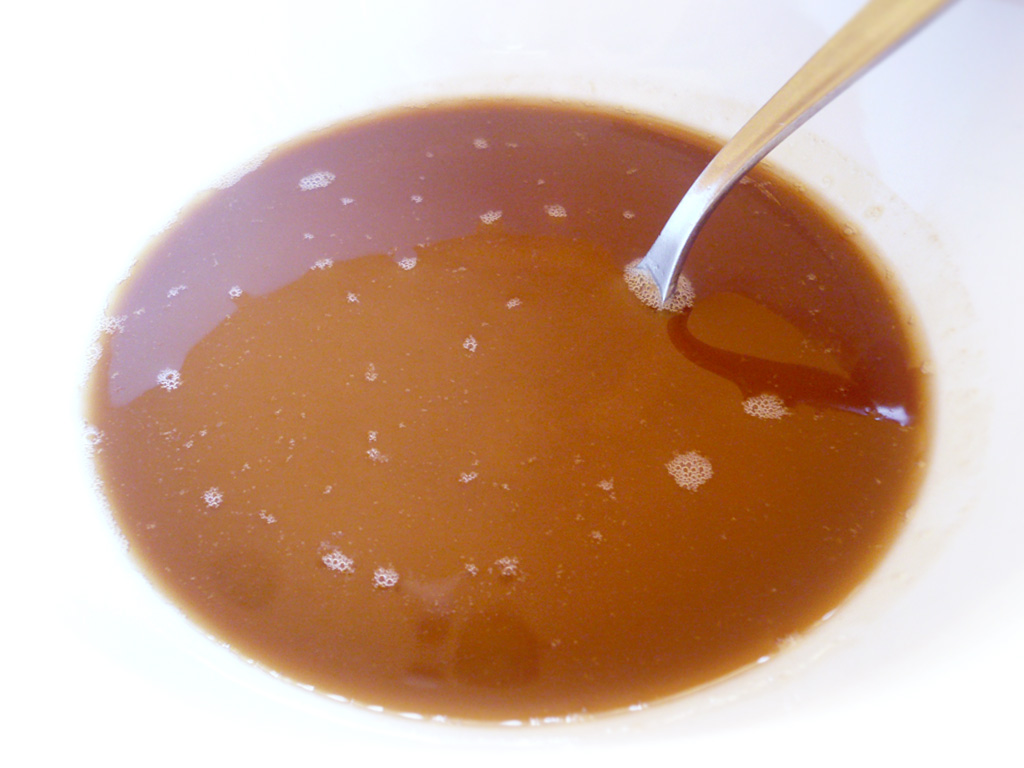
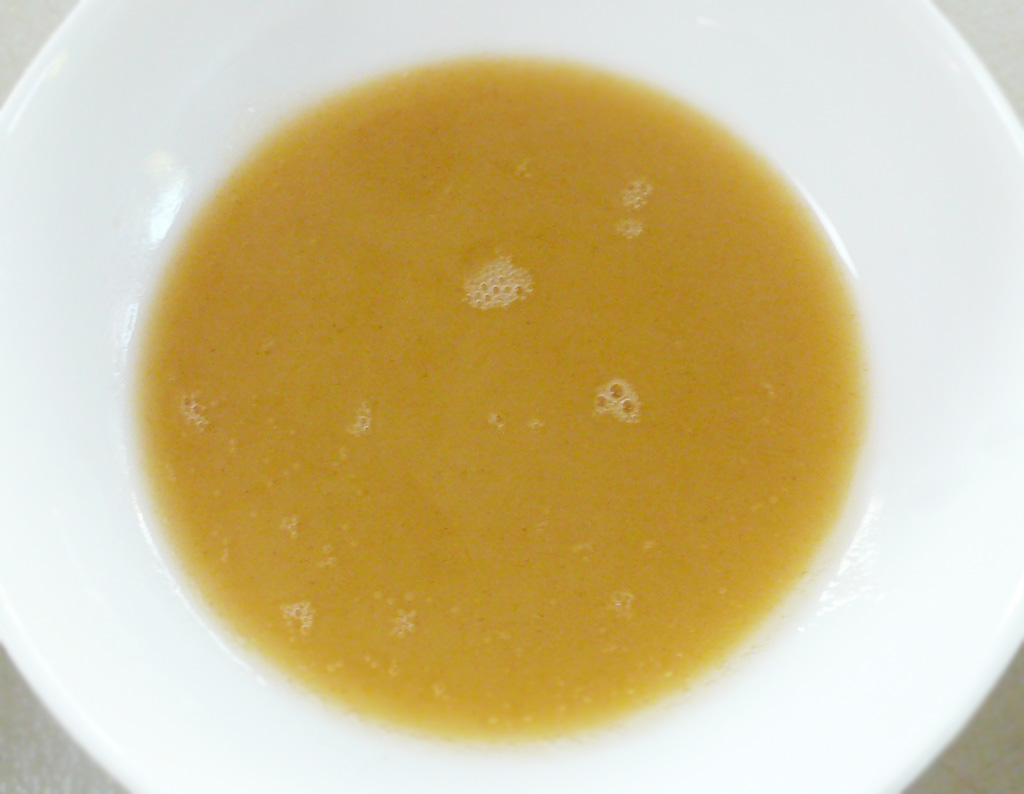
Melt the butter in a hot pan, and quickly brown the pork chops on both sides. Remove them to an earthenware or ceramic baking pan in a single layer. Save those pan juices!

Cover the chops with apple slices and drizzle them with the leftover butter and pan juices.

Bake in a 375ºF oven for 20-30 minutes, or until the apples are tender. Remove and let rest, then dish ’em up!

We served our côtes de porc à la flamande with some leftover mashed potatoes and stuffing from Thanksgiving.

Ingredients
4 boneless pork loin chops
4 Granny Smith apples
Juice of one-half lemon
35g Challenge unsalted butter
salt and pepper to taste
Equipment
Cutting board and kitchen knife
Salter digital scale
Measuring bowls
Small bowl
Frying pan
Set of tongs or spatula
Baking dish


![0175. Beurre Clarifié, Clarified Butter [1907]](https://escoffierathome.com/wp-content/uploads/2012/11/04-Clarified-Butter.jpg)


